
How to Prevent Uneven Drying in Industrial Drying Rooms
Uneven drying is best prevented by designing the room, loading pattern and air paths together.
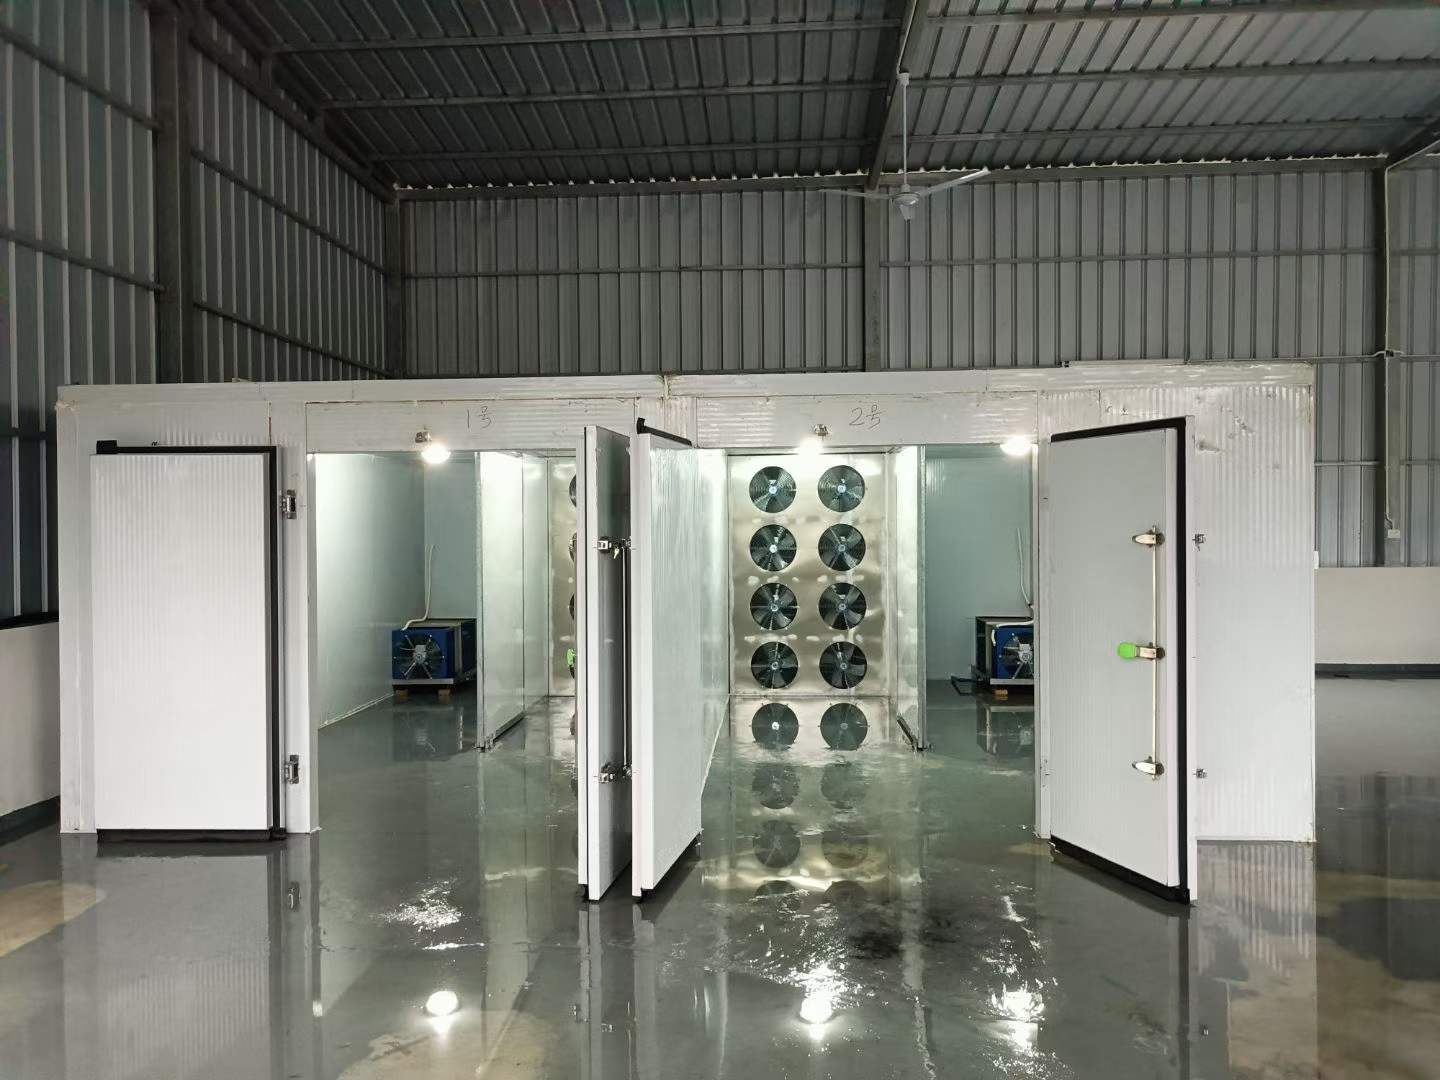
Prevent uneven drying through room and loading design
Prevention starts in the room and loading design. Before a system is built, define the material form, tray and trolley arrangement, supply and return paths, wall clearances and likely bypass routes. The goal is to reduce non-uniformity through geometry and loading decisions, then verify the design with project data.
The first objective is to define the pattern. Record where the difference appears, whether it repeats by location, and whether it follows a trolley, tray, material lot or operating stage. Keep the loading method and control settings documented while the baseline is measured.
Record the variables that shape the observation
Material and loading
Record cut size, layer condition, bulk density, tray loading and trolley arrangement. Differences in resistance can appear as an airflow problem even when the room is operating normally.
Supply and return paths
Review supply openings, return openings, obstructions, fan direction and possible bypass paths. Air should have a planned route through the load, not a short route around it.
Room envelope
Check door seals, panel joints, penetrations and unusual condensation. Leakage can change local air conditions and make a sensor-based diagnosis misleading.
Measurement plan
Use the same locations and timing for temperature, humidity and material checks. A single sensor cannot establish uniformity across a loaded room.
Process stage
Separate warm-up, constant-rate behaviour, falling-rate behaviour and end-point decisions. A distribution issue may become visible only after material resistance changes.
Use a defined check rather than a single assumption
| Observation or input | Purpose | Risk if incomplete | Review direction |
|---|---|---|---|
| Wet center or lower layers | Thick layer, compact loading or restricted return path | Compare material dimensions and layer condition by tray; inspect return path | Rebalance loading and airflow only after the cause is measured |
| Front trays differ from rear trays | Trolley spacing, supply bias or short-circuit air | Map locations and inspect trolley alignment and wall clearances | Review arrangement and supply/return balance |
| One corner stays wet | Dead zone, obstruction or local leakage | Inspect the corner, door and panel joints; compare local readings | Correct the physical path or envelope condition |
| Controller says target reached too early | Sensor is not representative or is in direct air | Compare sensor reading with multiple reference points | Relocate, shield or add measurement points according to design review |
| Results change each batch | Material preparation or loading density changes | Record lot, size, mass and arrangement before each run | Tighten the process brief before changing equipment settings |
Separate evidence from interpretation
A practical diagnosis has four stages. First, document the symptom map and preserve the operating basis. Second, inspect the physical arrangement: trays, trolleys, supply openings, returns, doors, seals and condensate paths. Third, compare readings at defined points with the same instrument method and time reference. Fourth, make one controlled change and repeat the observation with comparable material and loading.
The result should identify whether the dominant issue is material variation, loading resistance, air distribution, room leakage, measurement position or control logic. Several causes can coexist. A change that improves one location but worsens another is evidence that the air path or measurement plan needs further review, not proof that the batch is solved.
Define the evidence before a decision
For how to prevent uneven drying in industrial drying rooms, collect the material description, preparation method, initial and target moisture basis, batch or operating schedule, loading arrangement and available room information. Record the instrument locations, measurement method and any known site constraints. Separate measured observations from estimates and identify missing data. This makes the technical discussion easier to audit and prevents a trial or symptom from being treated as a universal design value. The final recommendation depends on the confirmed project inputs, applicable safety procedures and a project-specific engineering review. Keep the original records available so later conclusions can be traced to the observed conditions.
How to verify a corrective change
- Use comparable material preparation and record fresh mass, dimensions and layer condition.
- Record the same temperature, humidity and material locations before and after the change.
- Keep the changed variable isolated where practical, such as trolley spacing or a return obstruction.
- Repeat enough comparable observations to distinguish a repeatable effect from batch variation.
- Document the remaining limitation and update the operating or loading instruction.
Continue the technical review
Questions buyers and operators often ask
Can uneven drying be caused only by the heat pump?
Not necessarily. Material variation, loading resistance, room geometry, air bypass, leakage and measurement position can all contribute and should be separated during diagnosis.
Should the fan setting be changed first?
A physical and measurement review should come first. Changing a control value without understanding the air path may move the symptom rather than correct it.
How many sensors are required?
The appropriate number and location depend on room geometry, process stages and the control design. A single point should not be assumed to represent the entire load.
Can one successful batch prove uniformity?
No. Uniformity should be checked with documented loading and repeatable measurements across relevant positions.
Discuss the process with HPDRYER
Share the material condition, moisture basis, capacity, room, climate and control information available for an engineering review.